ic Test Blog: Get Your Chef on Challenge
Showing posts with label Get Your Chef on Challenge. Show all posts

Monday, March 18, 2013

Summer Lemon Blonde Cake

My girls, Julie at White Lights On Wednesday
are at it again with their
Get Your Chef On Challenge.
GYCO-Beer

The secret ingredient for this round is
 
Beer!

Well, since Mr. B is a card carrying member of the
American Home Brewers Association,
meaning he makes his own beer,
I just had to enter!

I also knew that I had to use my absolute favorite of his brews,
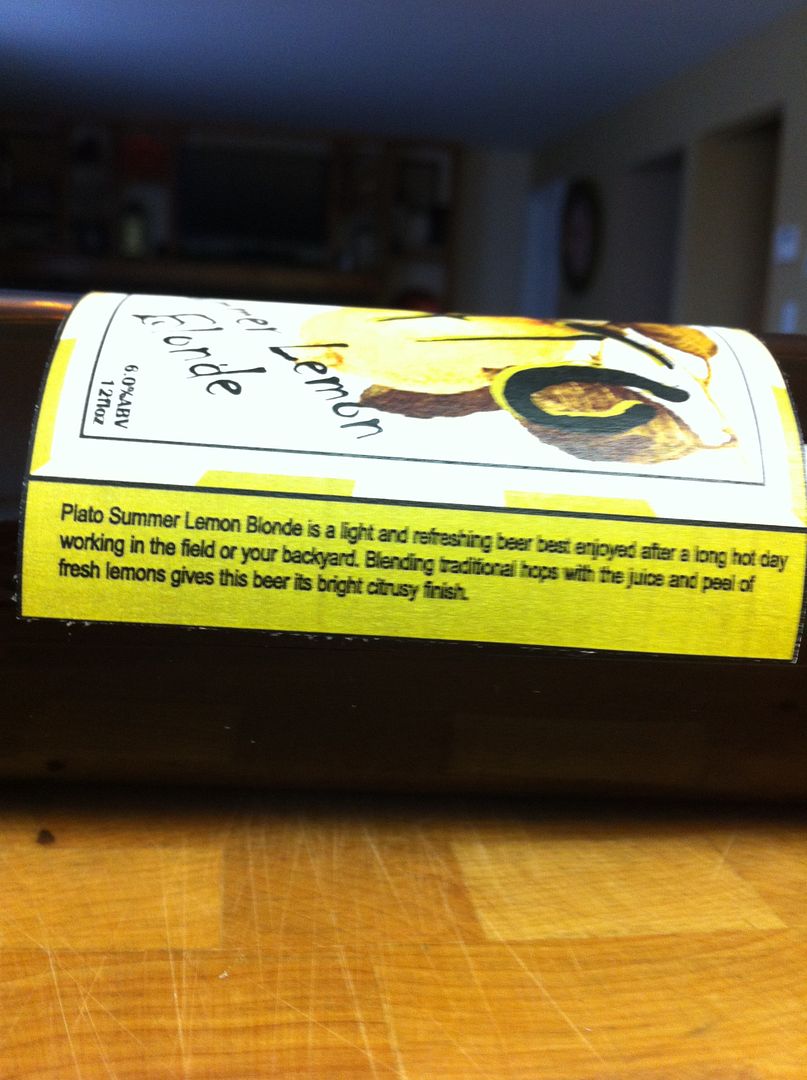
Summer Lemon Blonde.
Summer Lemon Blonde Cake
 This is a refreshing and light tasting beer with just a hint of lemon flavor.
I call it a "back porch" style of beer because it's perfect for sipping on
on a warm summer evening after you've been working in the yard.
Just like Mr. B put on the label!
Summer Lemon Blonde Cake
In my search for the perfect recipe I came across this one
for a Lemon Pilsner Cake.
Seriously, what is not to love? 
You know me and my "thing" for lemons.

Plus, using Mr. B's Summer Lemon Blonde could only amp up the flavor, right?

You can use any quality, light flavored beer (NOT light beer! C'mon, we're making a cake here, not some diet salad!).
I know there are some lemon flavored beers available too, so,
I would personally suggest something along those lines.
But, if not available, just use a good beer.

Cooking with beer is like cooking with wine,
only use something you would drink straight out of the bottle.
So, here you go, my entry into the Get Your Chef On Challenge,

Summer Lemon Blonde Cake
(Adapted from a recipe from The Beeroness)
1 1/2 cups cake flour
1 tsp baking powder
1/2 tsp baking soda
1/3 tsp salt
2 tsp lemon zest
1 cup (2 sticks) unsalted butter
1 1/4 cups sugar
3 eggs
1/4 cup fresh squeezed lemon juice (about 1 average sized lemon)
1/2 cup Summer Lemon Blonde Beer
Summer Lemon Blonde Cake
Grease and flour a large loaf pan.
In a large bowl, combine the flour, baking powder, baking soda, salt and lemon zest until well mixed.
In the bowl of  stand mixer, cream the butter and sugar until well combined. Add the eggs, one at a time, beating well and scraping the bowl between additions. Add the lemon juice and mix until well combined. Turn the mixer on low and add the flour a bit at a time until just barely combined, do not over mix.
Remove the bowl from the stand mixer and add the beer, stirring with a wooden spoon until just combined. Pour into prepared loaf pan. Bake at 350 for 50-55 minutes or until the top turns a light golden brown and a tooth pick inserted in the center comes out clean. Allow to cool completely before removing from the loaf pan.

For the icing I went with my own favorite cream cheese frosting and used beer for the liquid:

½ cup (1 stick) butter at room temp
8 oz. cream cheese at room temp
1 teaspoon vanilla extract
4 cups powdered confectioners sugar
1 to 4 Tablespoons Summer Lemon Blonde Beer
Place butter in a large mixing bowl and beat until smooth. Add cream cheese and blend until fully combined and smooth, about 30 seconds.
Add vanilla extract and powdered sugar and blend on low speed until combined. Increase to medium speed and beat until it begins to get fluffy.
Slowly add the beer, a little bit at a time until desired consistency is met. (Don’t add too much if you want the frosting to stay in place when used on the cake.)
Beat until fluffy, about 1 minute.
Summer Lemon Blonde Cake
 Serve well chilled, just like your beer.
This is the perfect Spring or Summer dessert!
Full of lemony flavor and, don't worry, no beer taste at all!
I'd love to hear if you try this recipe.

And, I'd love it if you'd go and check out all of the
other entries in the
Get Your Chef On Challenge!

Pin It

Follow my blog with Bloglovin

Click here to see where I may be partying this week.
AND
Don't forget to come by on Tuesday's
for the link party.

Sunday, July 15, 2012

Coconut-Maple-Bacon Cupcakes

You may remember a few weeks ago
I shared in this post how I fell in love in LOVE
with the maple bacon cupcake!
I decided to do my spin on it for the challenge.

Here are my ingredients
You know I'm all about semi-homemade!

I started by taking about a half cup 
of sweetened coconut and spreading it on a small baking sheet.
 I place it under the broiler for about 2 minutes.
I am here to help so, 
don't go off to throw a load of 
laundry into the dryer while this is cooking.
It toasts up 
QUICK, seriously QUICK!
 Here is the second batch of coconut all nice and toastedy.

Next, I prepared the cake batter per the instructions on the 
back of the box using just egg whites.
I added one and a half teaspoon of maple flavoring to the batter.
I then coarsely chopped up 5 slices of cooked bacon.
You can, and I should have, use more if you'd like.
Add to the batter making sure it is all nicely distributed.

For the first batch I filled the cupcake cups
and then put some of the toasted coconut on top.
For the second batch I just put it right in the batter.
I liked them much better with the coconut in the batter.

I had preheated the oven to 350.
After placing the cupcakes in the oven, I dropped 
the temperature down to 325 and baked for 20 minutes.
They came out perfect!

For the frosting I followed this recipe from Karlynn from
The Kitchen Magpie
My favorite icing is buttercream and when she says
hers is the best, I just gotta agree!
Sure, I could have gone with a tub of frosting but,
I don't like the artificial taste of tubbed frosting 
so, I went for homemade!

 Now, you real bakers out there may already know of this 
little magic bottle of sweetness but, it was new to me!
The Denver Cupcake Truck uses it on their cupcakes
and it makes a cupcake a CUPCAKE!
Plus, they are sparkly and I like sparkly things.

I frosted, added the shimmer gems and more of the toasted coconut
and topped them with a sliver of bacon.


How cute do they look on one of my candlewick dessert plates
placed on one of the candlesticks I scored on my big thrifting day?

So, how do they taste?
Let's just say that,
I no longer have to hunt down
the Denver Cupcake Truck!
Or, pay big bucks for a fancy cupcake!

Mr. B thought they were BETTER
than the Cupcake Truck!!
So, even if I don't win the challenge,
I scored big points at home!
He said that the addition of the coconut took them 
right over the top!

So, there you have it, my gourmet, semi-homemade
Coconut, Maple Bacon Cupcakes.

I hope you give them a try yourself cuz I know,
You're Gonna Love It!

   Click here to see where else I may be partying this week.

And don't forget to come by on Tuesday's
for the link party.


Pin It

Sunday, May 6, 2012

Two Ingredient Lemon Cake Bars

Kathe With An E #TwoIngredient #Lemon Cake Bars
Now you know I love me a lemon!
I even did a tablescape
filled with lemons
Kathe With An E #TwoIngredient #Lemon Cake Bars
I must thank
Jessie at
Living Practically
 for sharing this recipe.
It is quick, easy and oh so tasty!

After reading through the comments 
I wanted to make sure the instructions
were very clear as some people 
can take something so simple and
try to make it difficult.
I won't let that happen to you!

All you need is a box of Angel Food cake mix
and a can of lemon pie filling.
Both of these can be found in the bakery aisle
of your local grocery store.
Kathe With An E #TwoIngredient #Lemon Cake Bars
I took photos of the sizes that I used
so that you know exactly what to get.
Kathe With An E #TwoIngredient #Lemon Cake Bars

Kathe With An E #TwoIngredient #Lemon Cake Bars
Preheat your oven to 350 degrees.
In a medium bowl, mix the two together, by hand
until moist.
Don't add any eggs or oil!
 Just the box of cake mix 
and the can of pie filling!
DO NOT use a mixer!
Don't even think about it!
Seriously, step away from any power tools!
You are not trying to incorporate air 
like when you make a regular cake.
Got it?  Hand. Mix. Only.
And don't over stir!

Place the mixture into a 9x13 square cake pan.
Do Not grease or flour the pan!
Remember how I said this
was an easy recipe? 
Do not go for that
spray can of Pam!
No grease. No Flour. Got it?
Kathe With An E #TwoIngredient #Lemon Cake Bars
Now I do have a habit of
veering on my own when I cook.
I grated some fresh lemon peel over the mix.
One can not have too much
lemon!
Kathe With An E #TwoIngredient #Lemon Cake Bars
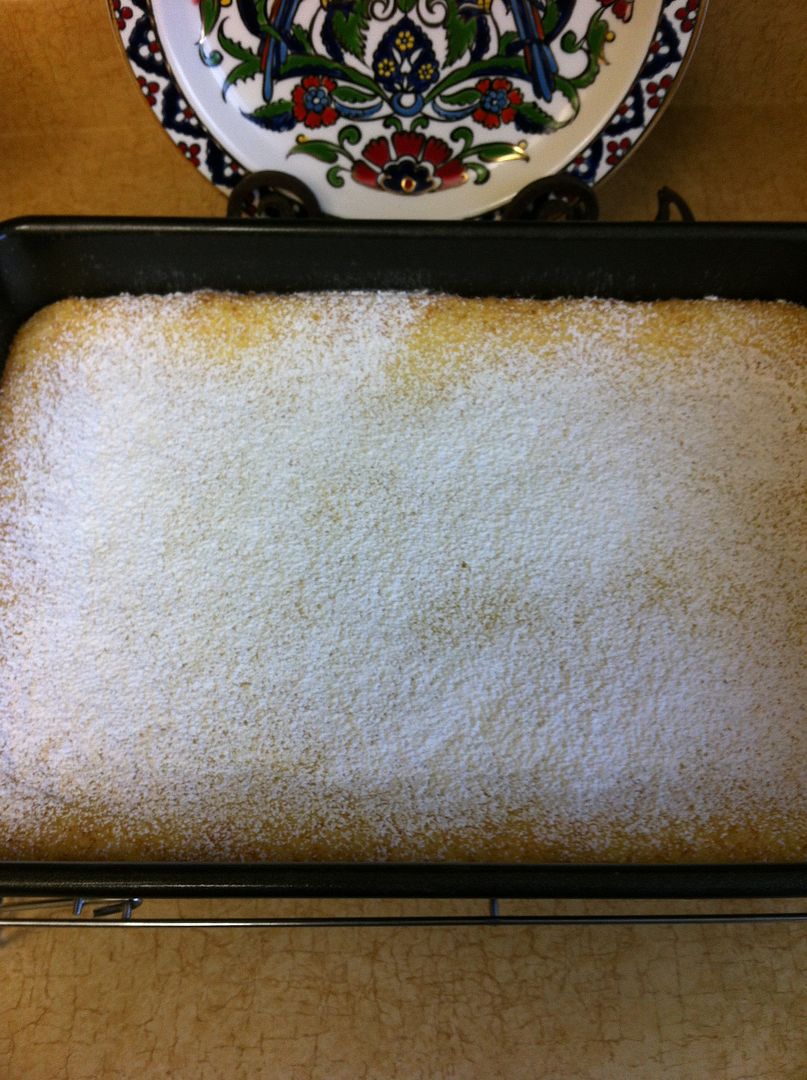
Place in your preheated oven and bake
until the top is a soft golden brown, about 20 minutes.
Test like your momma taught you, with a toothpick.
Kathe With An E #TwoIngredient #Lemon Cake Bars

Kathe With An E #TwoIngredient #Lemon Cake Bars
While it's still hot from the oven sprinkle 
with powdered sugar.
Kathe With An E #TwoIngredient #Lemon Cake Bars

Kathe With An E #TwoIngredient #Lemon Cake Bars
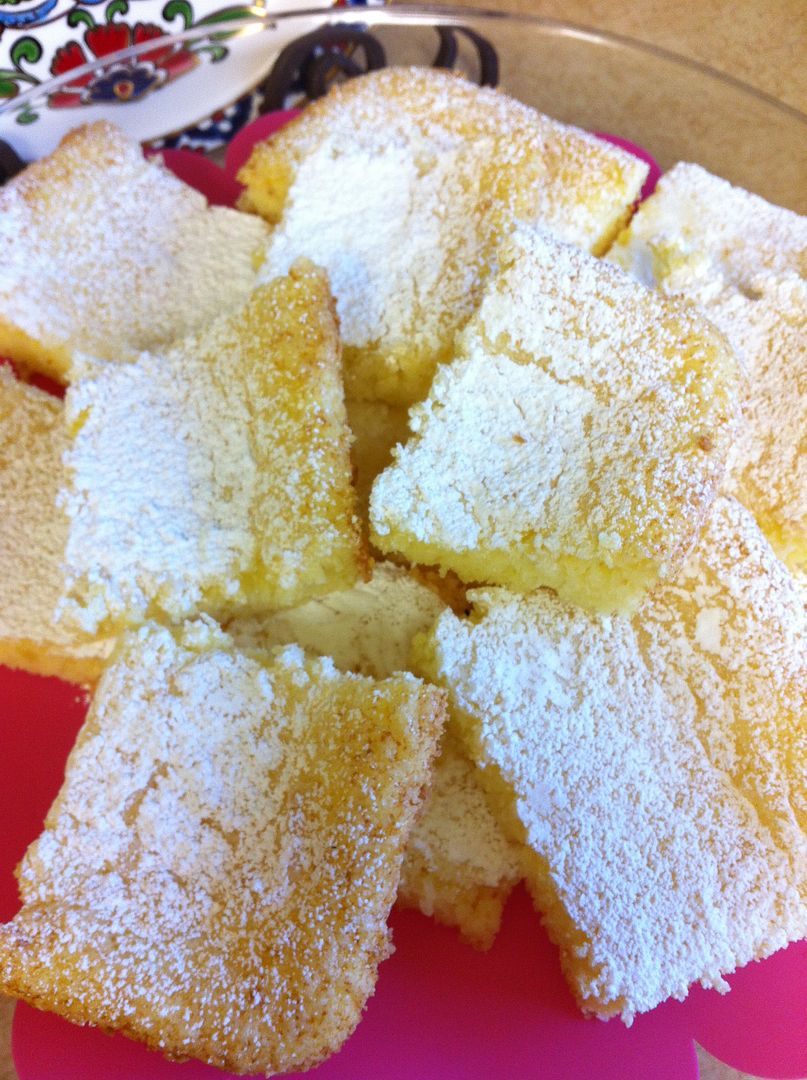
Allow to cool completely and then
cut into bars.
Kathe With An E #TwoIngredient #Lemon Cake Bars

Kathe With An E #TwoIngredient #Lemon Cake Bars
(Isn't that cake plate amazingly cute?
I won it at a giveaway 
over at 
Bargain Hunting (and chatting) With Laurie)

Keep in mind, these have more of a
cake texture than a true lemon bar.
Mr. B loved them!
I caught him several times with
powdered sugar evidence 
on his face and hands!

So what do you think? 

Click here to see where else I may be partying this week.

*Don't forget to come by on Tuesday's 
for the link party.

Pin It