ic Test Blog: before and after
Showing posts with label before and after. Show all posts

Sunday, March 8, 2015

Making The Kitchen Mine~Before & After

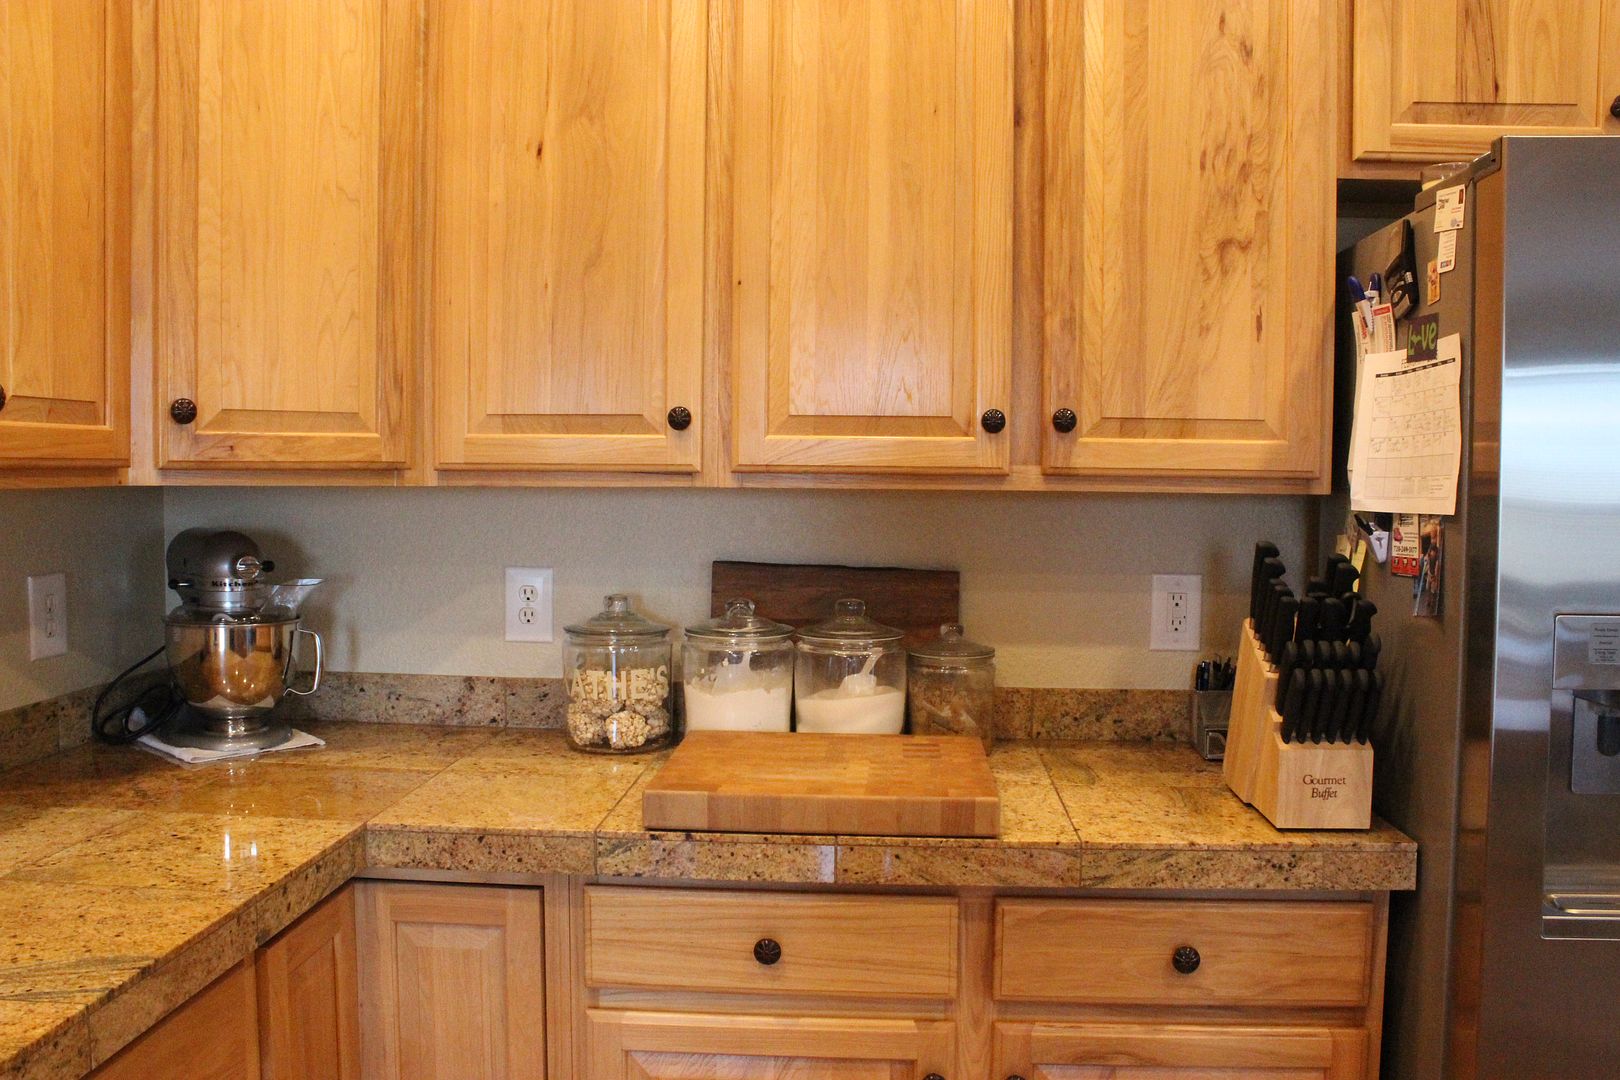
When we first came to look at our house to buy, one thing I knew would change, if we bought it, was the kitchen backsplash.
How a simple coat of paint can make a world of difference in a space, and make it yours!
The painted faux stones and other "artistic" touches were so not me!
How a simple coat of paint can make a world of difference in a space, and make it yours!

How a simple coat of paint can make a world of difference in a space, and make it yours!
The house was built in 2006 but I am sure faux ivy went out of style in the 1980's.
How a simple coat of paint can make a world of difference in a space, and make it yours!
I can't even begin to tell you how dark all of this made working on the counter. It was dated, it looked so fake and it totally was not me.  It was time to make it mine!

Luckily, my MIL, Linda, was begging me for a project to do.  Plus, we were expecting another snowstorm that would keep us home bound.  So, before the snow flew, I grabbed the leftover can of paint from when we painted over the hot mess pink in the guest bedroom, had the guys at Home Depot mix us up a quart, got some primer and we were ready to freshen things up.

I did the cutting in while Linda manned the roller.  One coat of primer and 2 coats of perfectly matched paint was all it took.
  
With the taping and waiting for paint to dry it took us approximately 5 hours.  
We did all of it without telling Mr. B too.  He knew how I felt about the backsplash but I wasn't sure if he was in love with it or hated it as much as I did.  
How a simple coat of paint can make a world of difference in a space, and make it yours!
No worries!  He loves how bright and light the space looks now! Linda & I swear the room is now 2 feet wider!  It's all an illusion of course, but it totally made a huge difference in the feel of the space! 
How a simple coat of paint can make a world of difference in a space, and make it yours!
Now, I feel like the kitchen is truly my space and not the previous owner's!
How a simple coat of paint can make a world of difference in a space, and make it yours!
How about you?  Do you have a spot in your home you are wanting to make yours?  Tell me about it in the comments below.


Like what you see? 
Well then, follow me by email and never miss a new post
Click here to see where I may be partying this week. 
AND
Don't forget to come by on Tuesday's
for the link party.

Sunday, March 1, 2015

DIY Shutter From A Bathroom Medicine Cabinet

DIY Shutter From A Bathroom Medicine Cabinet Door Using Homemade Chalk Paint
Imagine my excitement a few weeks ago when I found out they were opening a Habitat Restore in my town!  OMG!  I was so excited I could hardly wait for them to open and was there just after the doors were unlocked! If you have never ventured into a Restore, go!  NOW!  And go often as the inventory is always changing.  I picked up several things on my first trip.  One was this wooden louvered door medicine cabinet.
DIY Shutter From A Bathroom Medicine Cabinet Door Using Homemade Chalk Paint
I have been on the lookout for some small shutters but have been denied ever finding any.  When I saw this medicine cabinet my motto came into play.  It is not what it is, but what it can be!  In fact, I was so excited I forgot to take a photo of the full cabinet.  I had already taken the door off and put the metal box in the recycle trash and it was on the truck before I realized my bloggy mistake! 
DIY Shutter From A Bathroom Medicine Cabinet Door Using Homemade Chalk Paint
Anywho, for the price I paid, I was more than happy with my purchase!
DIY Shutter From A Bathroom Medicine Cabinet Door Using Homemade Chalk Paint
Of course, I couldn't leave it in its dark stained state.  Plus, I have been wanting to show my MIL the wonders of chalk paint.  So, I gathered my materials and we gave it a new look.
DIY Shutter From A Bathroom Medicine Cabinet Door Using Homemade Chalk Paint
A few years ago I had transformed a thrifted nightstand with homemade chalk paint and you can find the recipe for the chalk paint in that post. I find it to be so simple to use and I love the finish it creates once you give it a coat of finishing wax. Linda, my MIL, just loved helping me and can't wait to give new life to a project of her own once she finds her own home!
DIY Shutter From A Bathroom Medicine Cabinet Door Using Homemade Chalk Paint
Once we had painted on two coats of the chalk paint and wax, and distressed some spots with a sanding sponge, I decided my shutter needed something more. So, I took a few yellowed pages from a very used dictionary I had, tore them some and glued them to the top and bottom of the shutter.
DIY Shutter From A Bathroom Medicine Cabinet Door Using Homemade Chalk Paint

DIY Shutter From A Bathroom Medicine Cabinet Door Using Homemade Chalk Paint
Complete and utter love!  
DIY Shutter From A Bathroom Medicine Cabinet Door Using Homemade Chalk Paint

DIY Shutter From A Bathroom Medicine Cabinet Door Using Homemade Chalk Paint
It is exactly what the small wall above the TV alcove needed! Total spent?  I already had the paint, plaster of paris and brushes on hand so, just $5.00 for the cabinet! My kind of thrifty decor for sure!  Remember, I said earlier I picked up "several items" at the Restore that day. You'll have to keep checking back to see what else I found to make over! You're gonna love it! 

Like what you see? 
Well then, follow me by email and never miss a new post
Click here to see where I may be partying this week. 
AND
Don't forget to come by on Tuesday's
for the link party.

Thursday, May 30, 2013

Featured!

My sweet friend Kathryn over at The Dedicated House does a fun meme where she spotlights before & after projects each Wednesday. 
How lucky am I that she chose an older project of ours to feature this week!
Kathe With An E~Kitchen Before & After


Follow my blog with Bloglovin 
Or, sign up to receive my updates by email.

Sunday, January 27, 2013

Laundry Room Reveal

As you know, we had to replace our washer and dryer recently. I was able to get rid off our very old set on Craigslist. While waiting for the new set to be delivered, I figured this would be the perfect time to tackle one of my to-do's, paint and clean up the laundry room. It's not a big room, only 6'x6', and was looking tired and worn out. It was past time to treat this room like every other room in the house and shine it up!

That doesn't mean it can't be cute, right?? But, it had to be cheap too!
We had almost a full gallon of Lowes Olympic paint, color camel, so I used that to lighten up the room somewhat.
http:www.kathewithane.com
You can see here, in this very fuzzy photo, where I did a couple of test patches before committing to doing the whole room.
http:www.kathewithane.com
I had painted the cabinets and baseboards white several years ago so that saved me that task!
http:www.kathewithane.com
And this is the fugly brown door leading out to the garage.

Once the machines were in place, Mr. B and I had discussed taking out one of the cabinets and stacking the washer and dryer but after some thought, we decided not to.
We did know that we would not purchase the pedestals and thought about building our own but, because of the bulkhead, there wasn't much room to work with so, we decided to just have a countertop span them. After pricing out materials we were kind of stumped until Mr. B had the genius idea to use an Ikea tabletop as a countertop.
http:www.kathewithane.com
$24.99! The 59" length is just perfect! And I now have a space to fold clothes!
http:www.kathewithane.com
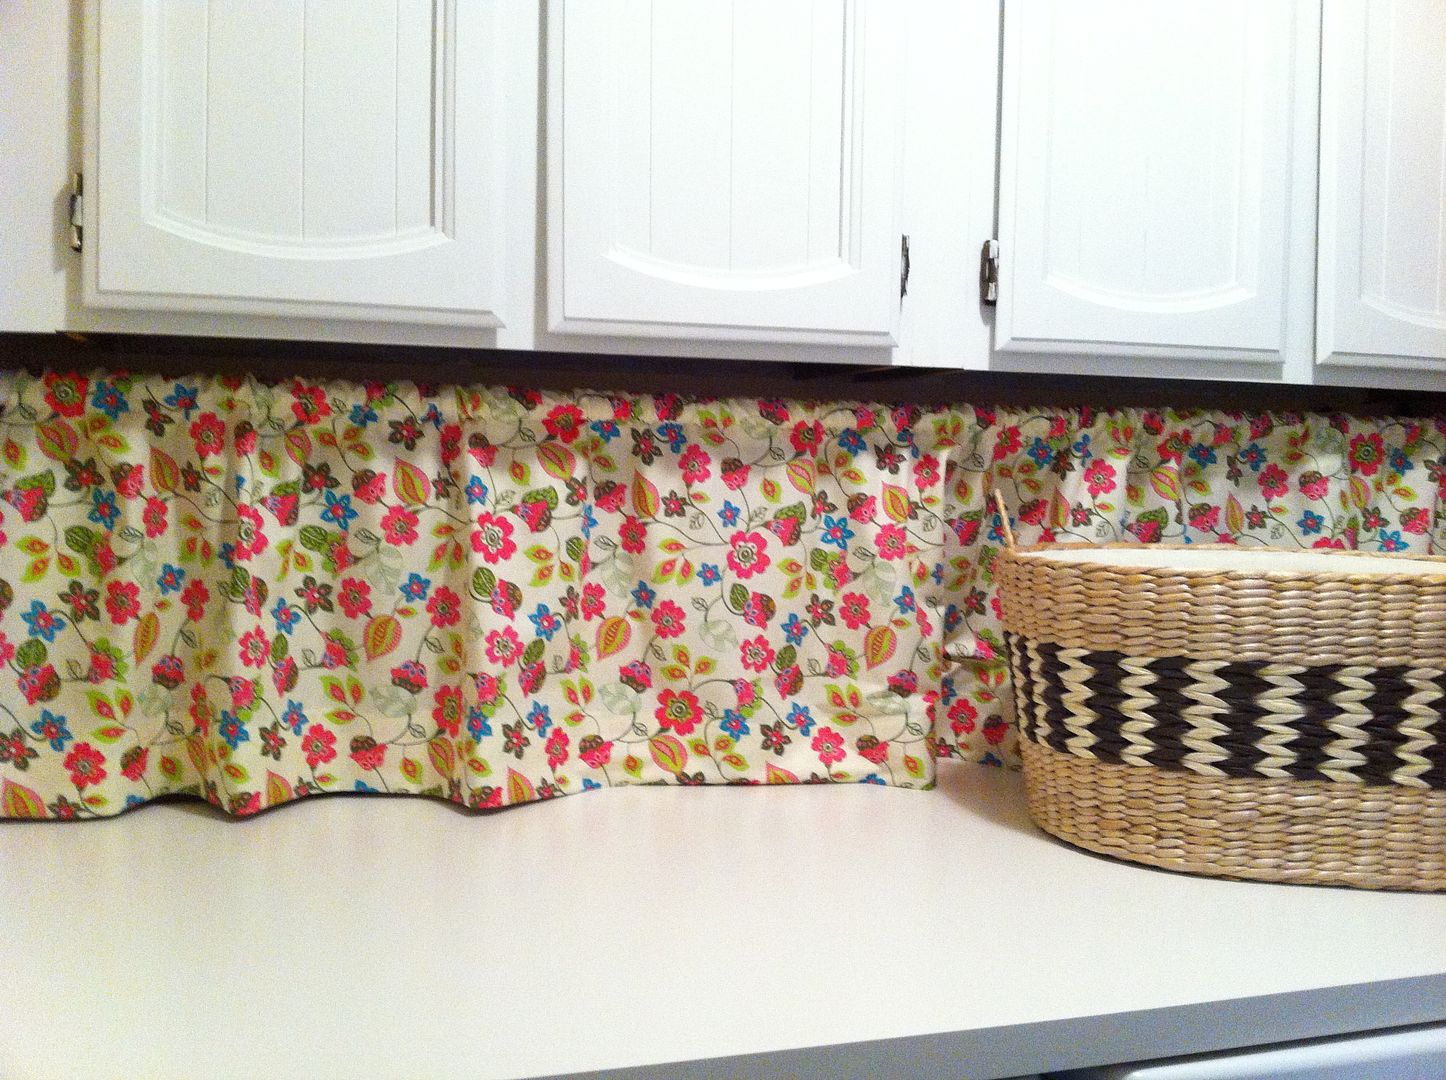
I bought 2.25 yards of springy floral material, on sale, at Hobby Lobby for $11.00 and made a curtain to hide the water hoses and electrical and to give the room a little bit of whimsy. 
A $10.00 shower curtain rod from WalMart holds it in place.
http:www.kathewithane.com
Whenever we go to Ikea I always check out the As-Is section. This trip there was a stack of white cabinet doors, for get this, 99 cents each! Perfect for making signs! I just used some drywall spackle to plug up the hole for a knob. I then purchased some wooden letters from Hobby Lobby, painted them a color that coordinated with the fabric and hot glued them onto the door. 
http:www.kathewithane.com
On the wall opposite the washer and dryer, I used another of the cabinet doors to hang our jackets on when we come home. The cute checkered knobs were a clearance find at Hobby Lobby for $1.02 each!  Perfect! Instead of wooden letters, I stenciled the letters on using a nice bright pink.
http:www.kathewithane.com
I used up some white trim paint we had on hand to paint the fugly brown door.  Sooo much brighter and cleaner looking, yes?
Using a picture frame I already had, I created a whiteboard to hang on the door. The dry erase ink wipes right off the glass.  I can now leave Mr. B little notes that he will see as he leaves in the morning. Or, reminders of things we might need to pick up, like dog food or light bulbs.
http:www.kathewithane.com
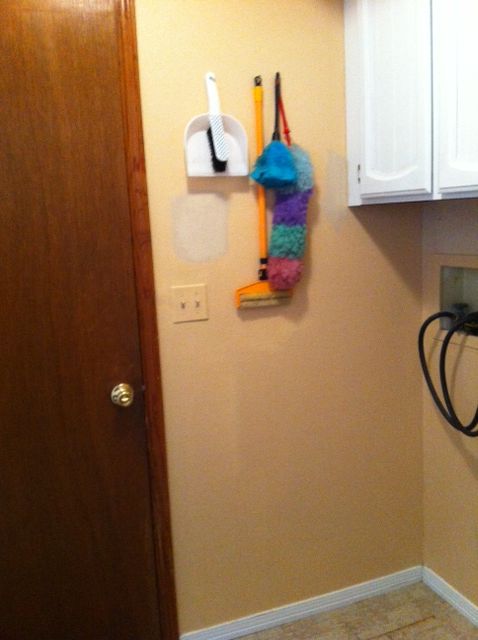
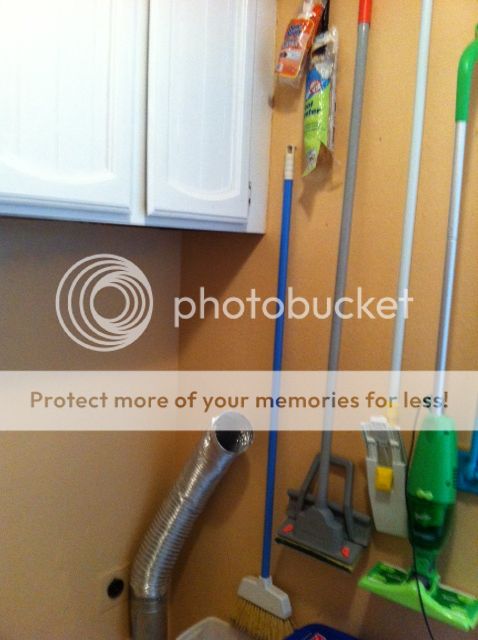
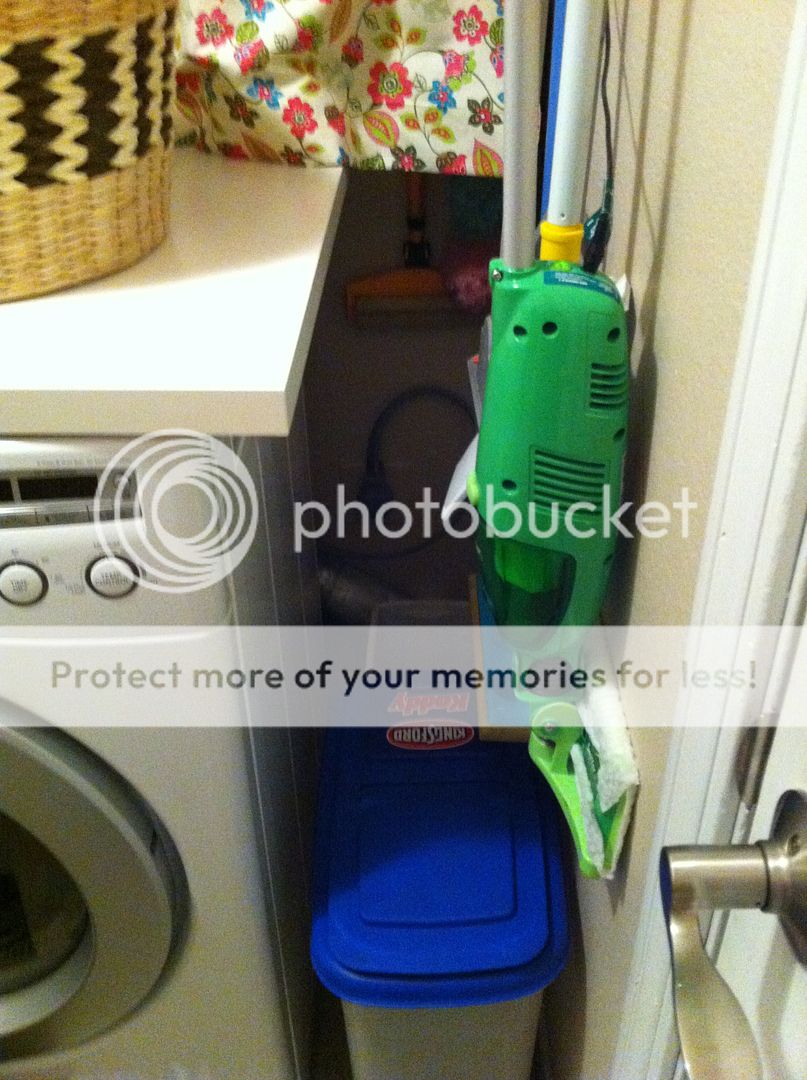
On the wall leading into the house I still have all of my cleaning tools. I need to figure out how to camouflage the recharging cord for my Swiffer vacuum.  Any ideas?
http:www.kathewithane.com
Max's dog food bin, a trash can and some dusters are nicely hidden away.
http:www.kathewithane.com
So, for around $50.00 (not including the new machines of course) I was able to create a fun little space. And, to be honest, as much as I really hated doing laundry, I am actually enjoying it a bit more now! That's worth more than $50.00 right there!


Click here to see where I may be partying this week.
AND
Don't forget to come by on Tuesday's

for the link party.


Pin It