ic Test Blog

Sunday, November 10, 2013

DIY Christmas Decor Craft

I know it's not even Thanksgiving yet but I was in a crafting mood and what better craft than a Christmas craft?DIY Christmas Decor Craft

A quick trip Michael's, coupons in hand of course, and I had my supplies.
I started by painting the wooden oval block all white, except for the edges. 
I then painted the bird house a robin egg blue, with some white craft paint to give it an icy cold look.  Finally, I painted the roof and edges bright white with just a touch of gold on the tip of steeple. 
Once it was all dry I I hot glued the bird house, the tree and the figure all to the board and then slathered the roofs and edges and the wooden block with Mod Podge and sprinkled the frosted snow all over.
DIY Christmas Decor Craft
The puppy and the squirrel make me think of Max.
DIY Christmas Decor Craft

DIY Christmas Decor Craft

DIY Christmas Decor Craft
This was such an easy project I can see making more and creating my own DIY Christmas village!  
How about you?  Have you started on your Christmas projects yet?

Follow my blog by email
Click here to see where I may be partying this week.
AND
Don't forget to come by on Tuesday's
for the link party.


Monday, November 4, 2013

You're Gonna Love It - Week 78

Happy November friends! 

I hope everyone that celebrates Halloween had a safe and fun day!
We only had a handful of trick or treaters so, next year I will not buy as much candy as we have waaay too much left.  I will be putting some aside and freezing it for cookies and such though. Not that that will keep it from migrating to my hips and further south!  

In the good news department, Mr. B was able to score me a cheap, fast trip to Connecticut in a few weeks for my youngest son's birthday annnnd to see my little peanut!  It's been over a year since I have kissed those sweet cheeks and, I am so excited to see him, my son and my beautiful future daughter-in-law!! 

Sounds like a great reason to party to me so let's get to gettin'!

Last weeks most viewed link came to us from Bev who blogs at 
Tablescapes By Bev
Bev shared her estate sale finds which included these gorgeous vintage blue goblets! I would have been first in line to grab these myself! Thank you Bev! Be sure to grab yourself an I've Been Featured button and display it proudly!

Now on to the party!

It's the first Tuesday of the month so,

Anything Goes this week!!
You can link up your regular posts as always 
but, this week you can also link up your giveaways, 
your Etsy shops, your Ebay stores,
your own link parties!
Anything and everything!

All I ask is that you keep it clean and
family friendly and try to limit your posts to only 5 link ups.

I reserve the option of deleting any post that I do not feel fits the
theme of my blog.

As always, you don't have to be a follower in order to link up. I want you to follow Kathe With An E because you want to. Not because it is required.


I would also love it if you would link back in some way so that others come and party with us. Either grab the party button or, add my blog link 
to your post or on your blog party page. But again, it's not required.  

Just remember, this is a party so, please, after you link up, mingle around and visit some of the other party guests.


*By linking up your post, you are giving Kathe With An E permission to use your pictures as a feature on this blog and other social media outlets.

Be sure to stop by and visit these other great linky parties this week!
Life on Lakeshore Drive
One More Time Events

Sunday, November 3, 2013

Guest Bedroom - A Work In Progress

Guest Bedroom -  A Work In Progress
As you can see from the new look of the blog, some changes have taken place. I love the new look and again have to thank Brooke from 

Brooke was the one that did my blog redesign last year too.  
I love how easy she is to work with and how she just "gets" me and what I want! If you are thinking of updating your blog, give Brooke a shout 
and tell I sent you!

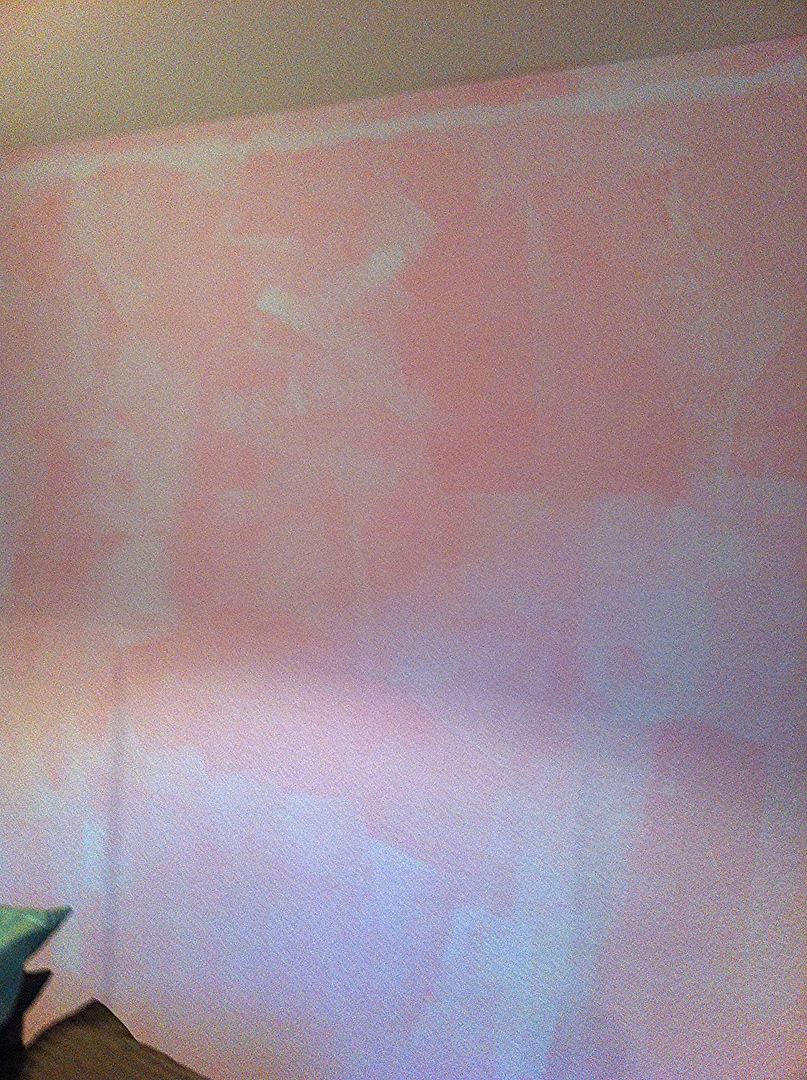
In keeping with the new looks theme, I believe I have mentioned somewhere in the past that the previous owners of our new home had several little girls? And that they had decided to paint their bedroom a very very pink pink? In high gloss paint?  Well, If I haven't before, yes, all of that is true.
Guest Bedroom -  A Work In Progress
These photos don't even begin to show just how bright of pink this room was.
Guest Bedroom -  A Work In Progress
And shiny bright pink.

What you don't see are all of the princess, butterfly and other stickers little girls love, all over the walls.  
Suffice it to say, we kept the door to this room shut at all times!

A few weekends ago, I was lounging on the couch and I heard something going on in the back of the house. I got up and and found Mr. B with a can of primer and a brush in his hand.  He'd had enough and could take no more of this assault on our sense of sight.
Guest Bedroom -  A Work In Progress
He had already begun the tedious task of cutting in when I found him.
Guest Bedroom -  A Work In Progress
In no time at all he had all of the walls primed and ready for paint.  
He could have left it like this and it truly would look so much better than before.

We had already discussed that when the time came that we painted this room we would use the color that is in the rest of the house.  The previous home owners had left a tiny bit left in a can in the basement so we went to Home Depot and the fine folks there were about to get a darn near perfect match for us.

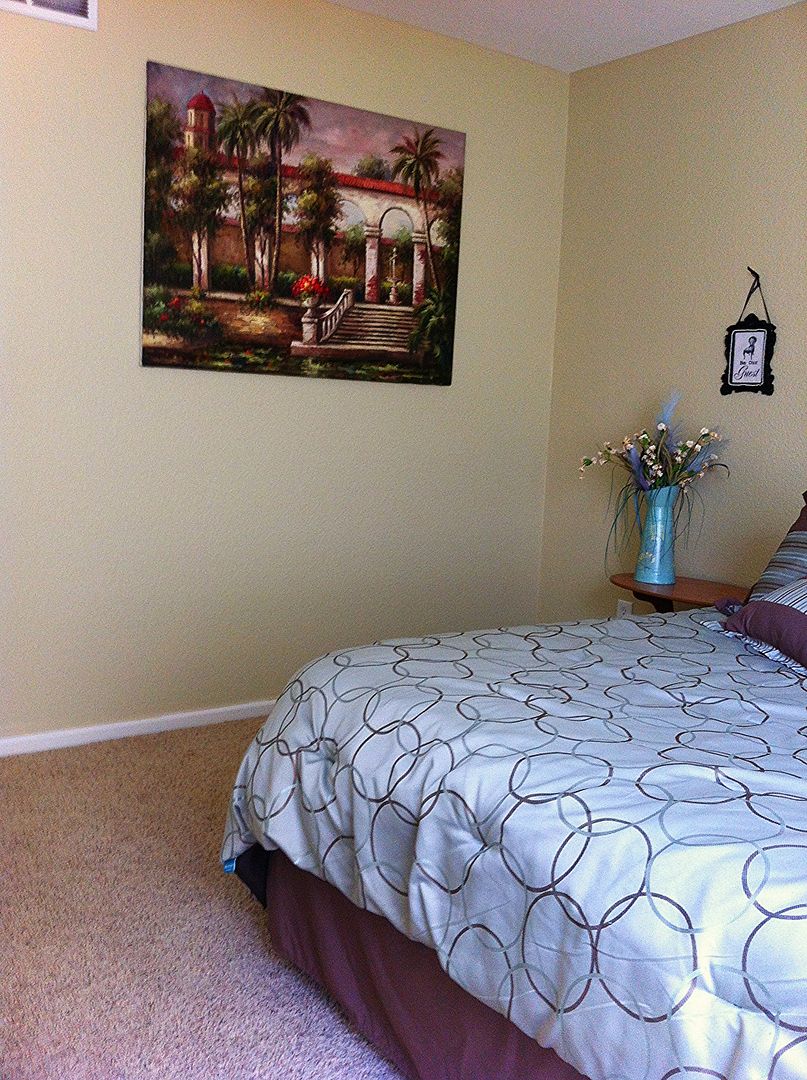
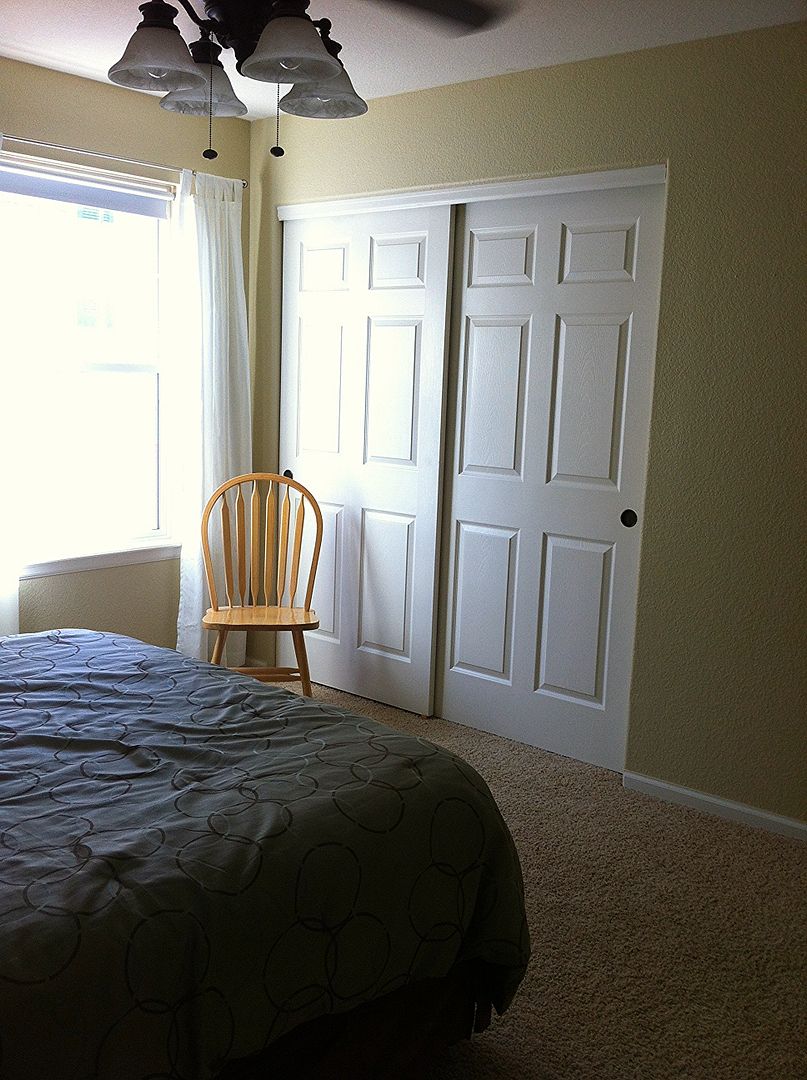
By the end of the weekend, he had two coats up and it looks beautiful!
Guest Bedroom -  A Work In Progress

Guest Bedroom -  A Work In Progress
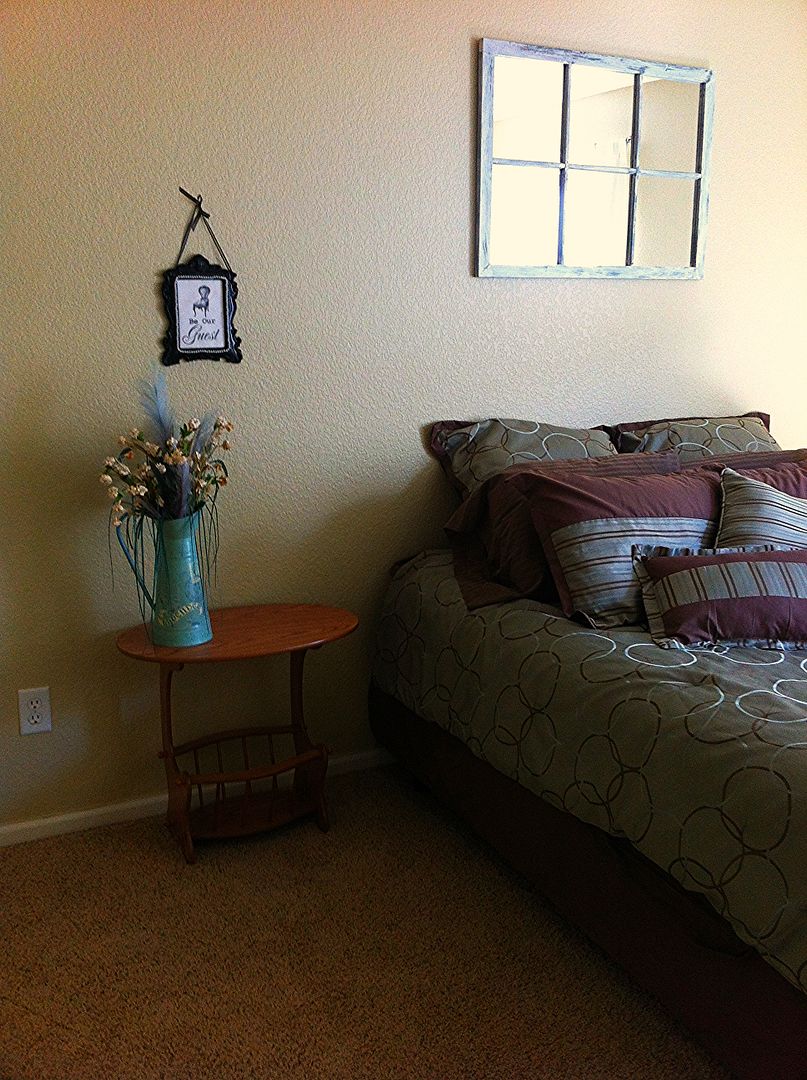
I got the some pictures and other pieces up on the wall to help add to the warmth the room now has.
Guest Bedroom -  A Work In Progress
And, I am on the lookout at the thrift stores, garage sales and Craigslist for a dresser to go on this wall.  A mirror would be a nice find too as well as some beside tables. Just like everything else, 
the guest bedroom is a work in progress.
Guest Bedroom -  A Work In Progress
My goal is to make the room a restful place for weary guests to lay their heads and be able to enjoy there visit with us.

Follow my blog by email
Click here to see where I may be partying this week.
AND
Don't forget to come by on Tuesday's
for the link party.
  

Wednesday, October 30, 2013

Simple Pumpkin Topiary

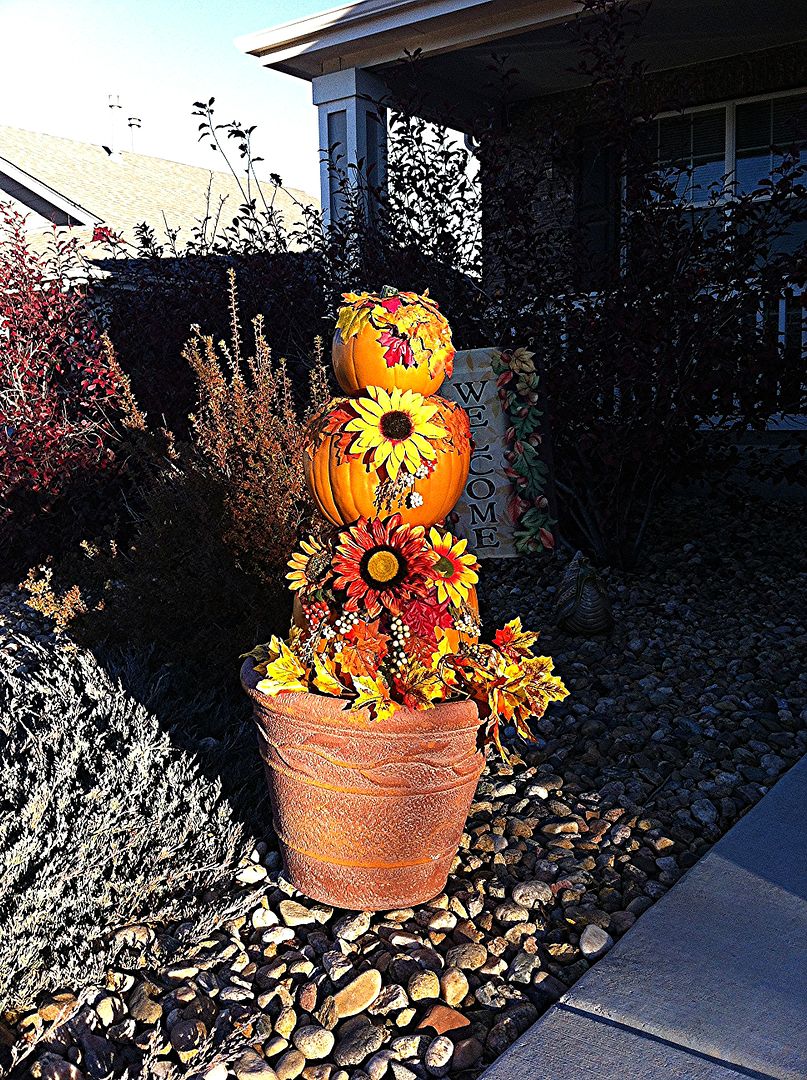
I'll be honest, this is not a new project.  In fact, I made this simple pumpkin topiary about 4 years ago!  
Yes, I know, I have been blogging for 3 Autumns now and I have never ever even thought to share this with you.  I'm guessing there may be more projects I have done in the past that you would love to see...and maybe, just maybe I will find them hidden in the garage or basement too...some day.
Simple Fall Craft
And, of course, since I was not yet blogging when I made this, I have no pictures of all of the intricate steps it took to create such a magnificent piece of creativity!

Seriously, it is too easy to do and now is the perfect time for you to make one of your very own!

Faux pumpkins are now on sale and in a few days will be clearanced to realistic pricing so, grab yourself 3 in graduated sizes, meaning, from large to small.  While there, pick out some Fall flower bunches, a few packages of leaves, which should also be on sale, and a Fall garland. 

Once you get home with your fantastic finds, find a long sturdy stick of some sort. Then, cut holes in the top and bottom of the 2 larger pumpkins and the bottom only of the small pumpkin making sure your stick fits through the holes and is about a foot longer than the total of all 3 pumpkins.  No math needed, just eyeball it like I did.

Heat up your glue gun and make sure you have plenty of glue sticks handy (probably should have told you to check that first before you headed to the craft store of choice huh?).

Now, start taking apart the flower bunches and start gluing flowers and leaves onto the pumpkins in any way you like.

Once the glue has dried, take one of your summer planters (or, use the one the previous owners left like I did), dirt still in it, and shove your stick in as far as it will go.  Line up your fancy decorated pumpkins onto the stick and finish off by wrapping the garland around the bottom pumpkin, making sure it is secure enough to withstand any wind storms that may occur.
Simple Pumpkin Topiary
Now, you can choose to make sure your pot is level or, be like me and spend 30 minutes messing with the freakin' rocks, trying to get it level, give up and enjoy it in its wonky state.  Your topiary, your call!

See, what did I tell you?  Easy peasy and can be left out until the day after Thanksgiving when, the Christmas decor comes out! 

If you make one of your own I'd love to see it so, be sure to share!


Follow my blog by email
Click here to see where I may be partying this week.
AND
Don't forget to come by on Tuesday's
for the link party.

Monday, October 28, 2013

You're Gonna Love It - Week 77

Happy Halloween Week!!
I've given up on finding my missing bin of Halloween decor for this year so my 
seasonal display consists of one witch and that's it LOL. 
I'll do a big blow out for Halloween next year.
How about you?  Are you ready for all of the cute trick or treaters?
We aren't sure how many we will get at the new house so, I bought
a ton of candy just in case we get a lot.  If we don't?
Well, someone (read: me) is going to have to eat it all amiright??
It's a good thing it's getting to be sweat pants weather!

Let's get this week's party started before I have my face stuffed full of Snickers shall we?

Last week's most viewed link came from my friend Carol who blogs over at 
Carol shared with us her sweet Halloween tree and other blingy decor.
I have a block tree somewhere that I could have decorated too!  It's probably sitting right next to the missing bin!
Thank you Carol! We loved your awesome display! Be sure to grab yourself an
I've Been Featured button and display it proudly!

Let's Party!
Feel free to link up anything you have created.
Recipes, decor, crafts, written or photographed.
Anything you are so proud of
you just gotta share it with others.
I will reserve the option of deleting
any post that I do not feel fits the
theme of my blog. 
Please limit your link ups to
just 2 or 3. 

I love to spotlight
some of my favorites on my
Facebook page and pin them to my 
You're Gonna Love It Tuesday board on Pinterest so,
be sure to follow me there too!

As always, you don't have to
be a follower
in order to link up.
 I want you to follow
Kathe With An E
because you want to.
Not because it is required.


 I would also love it if you would link back
in some way so that others come and party with us.
Either grab the party button
or add my blog link
to your post or on your
  blog party page.
But again, it's not required.  


I ask that you please 
DO NOT link up
giveaways, Etsy shops or anything for sale.
Save those for the first Tuesday of each month
(next week!)
when,
Anything Goes!

Please remember, this is a party
so, after you link up,
mingle around 
and visit some of the other party guests.


*By linking up your post, you are giving Kathe With An E permission to use your pictures as a feature on this blog and other social media outlets.

Be sure to stop by and visit these other great linky parties this week!
Life on Lakeshore Drive
One More Time Events

 
 This week’s party is sponsored by:
An eCookbook by Kathe With An E
Click the photo above for more information

Sunday, October 27, 2013

Fall Tablescape

We had such beautiful weather this weekend.
We were able to have the doors and windows wide open, 
letting in the fresh Fall air.
That will change during the week though,
Snow and wind is expected.  Typical Fall weather in the Rockies.

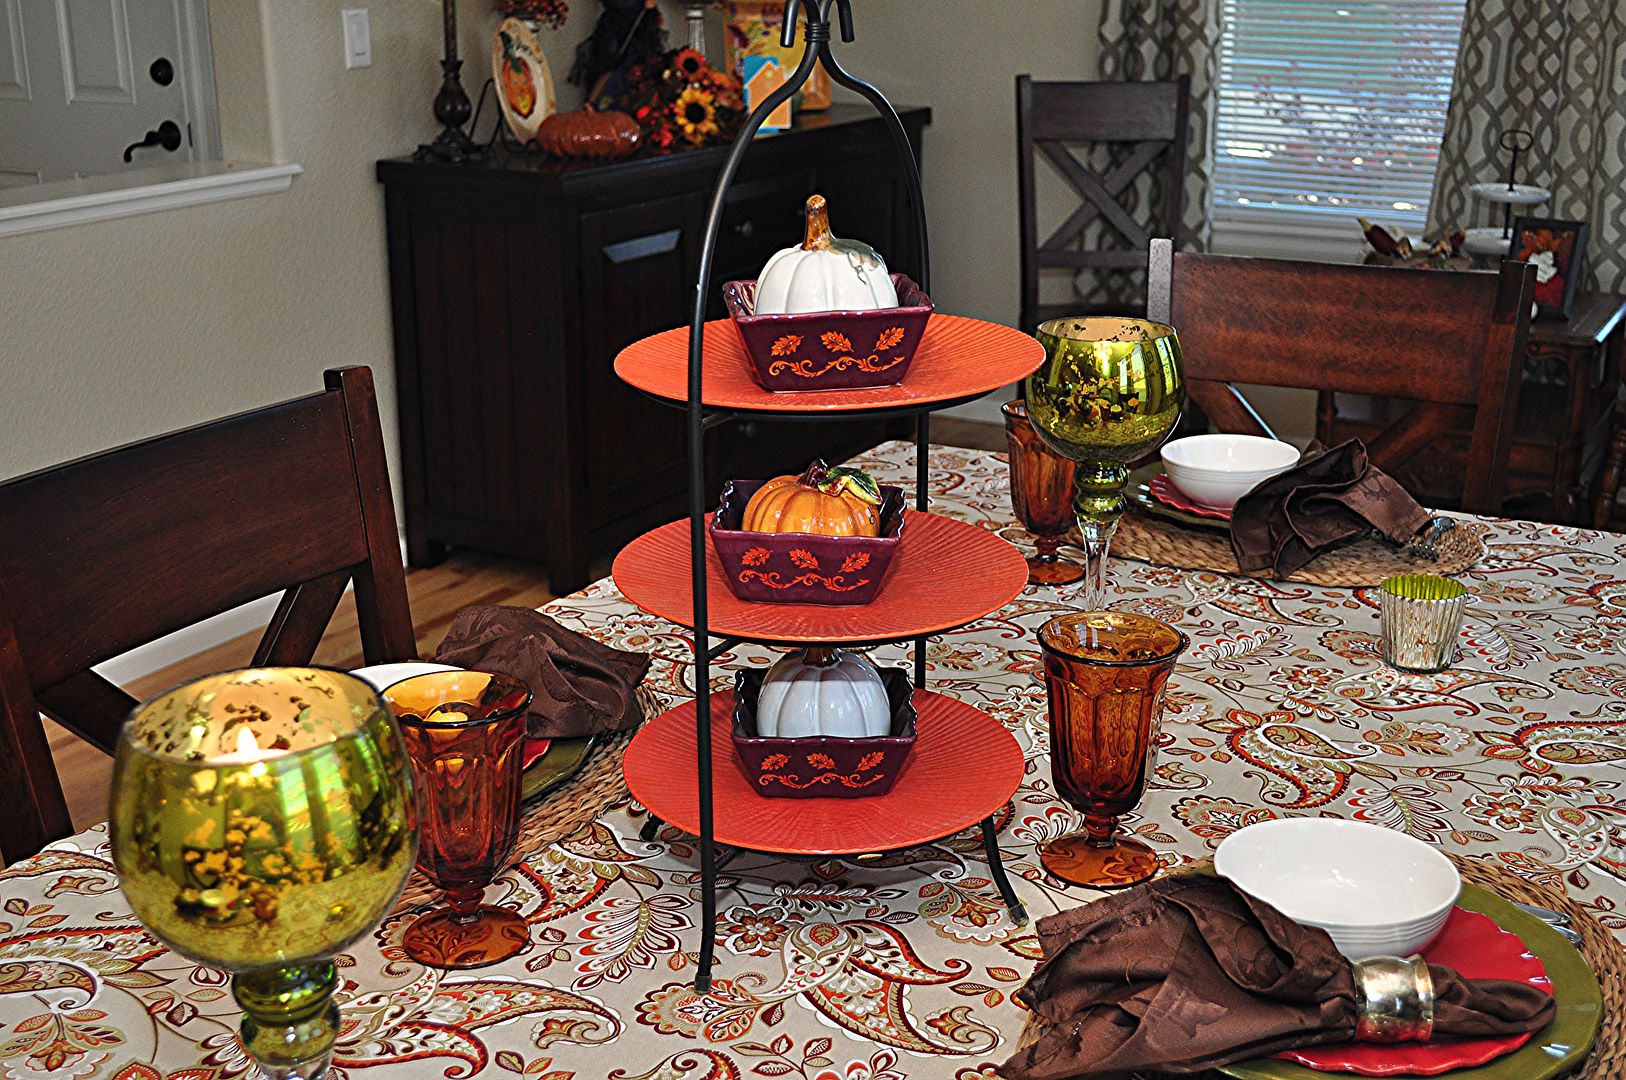
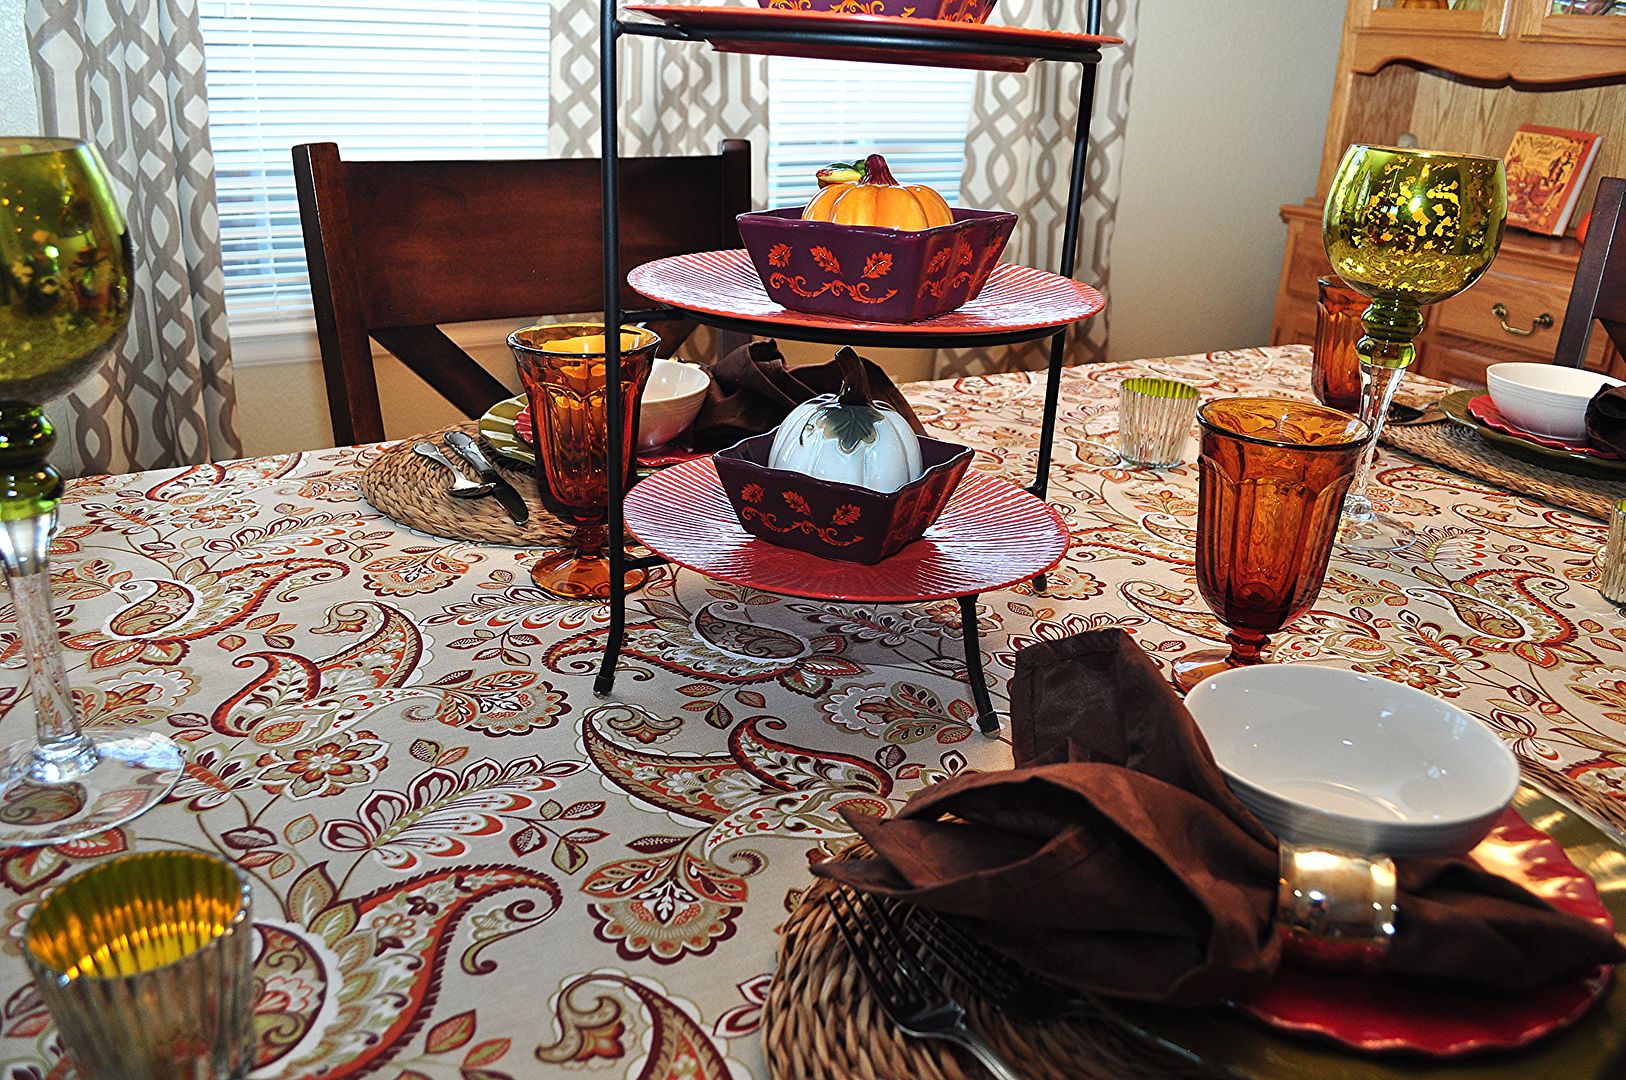
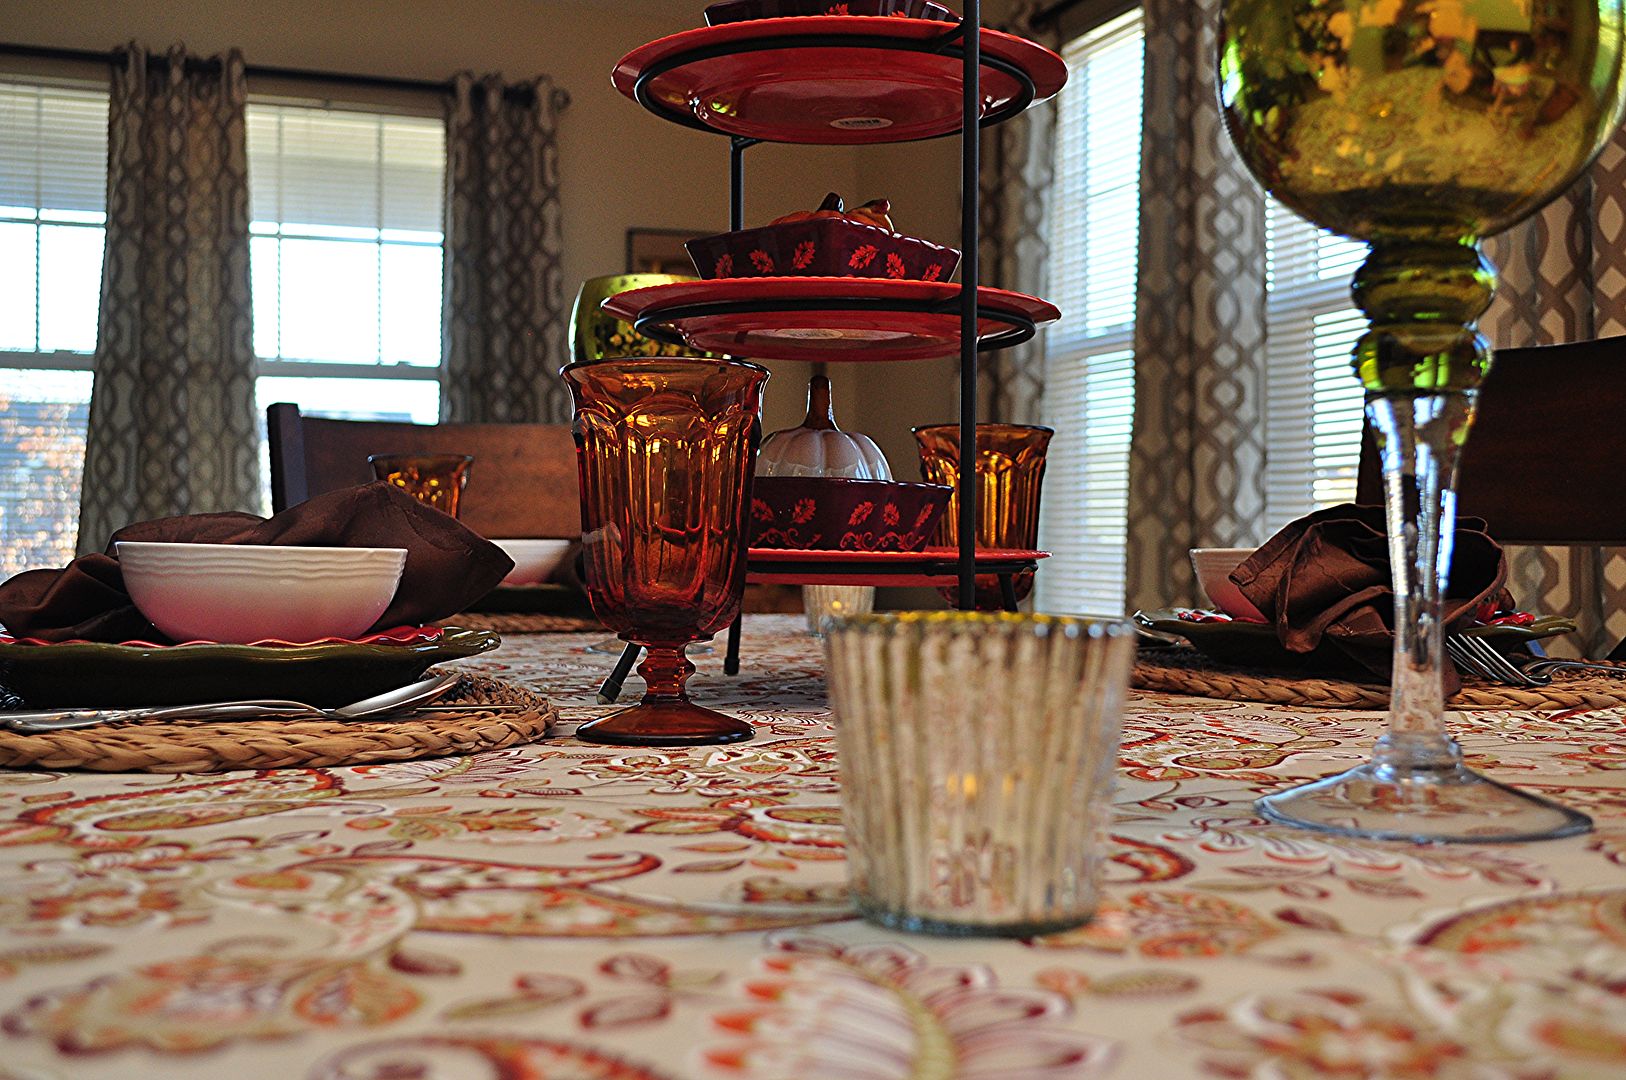
In anticipation of the cooler I set a Fall tablescape with the warm colors of the season. 
Fall Table Decor
I found this beautiful tablecloth at Home Goods when my mother-in-law and I went shopping on Canadian Thanksgiving.
Fall Table Decor
I fell in love with the paisley leaves and the Fall colors.
Although, I don't think it screams Fall and I am hoping I can use it with other tablescapes.
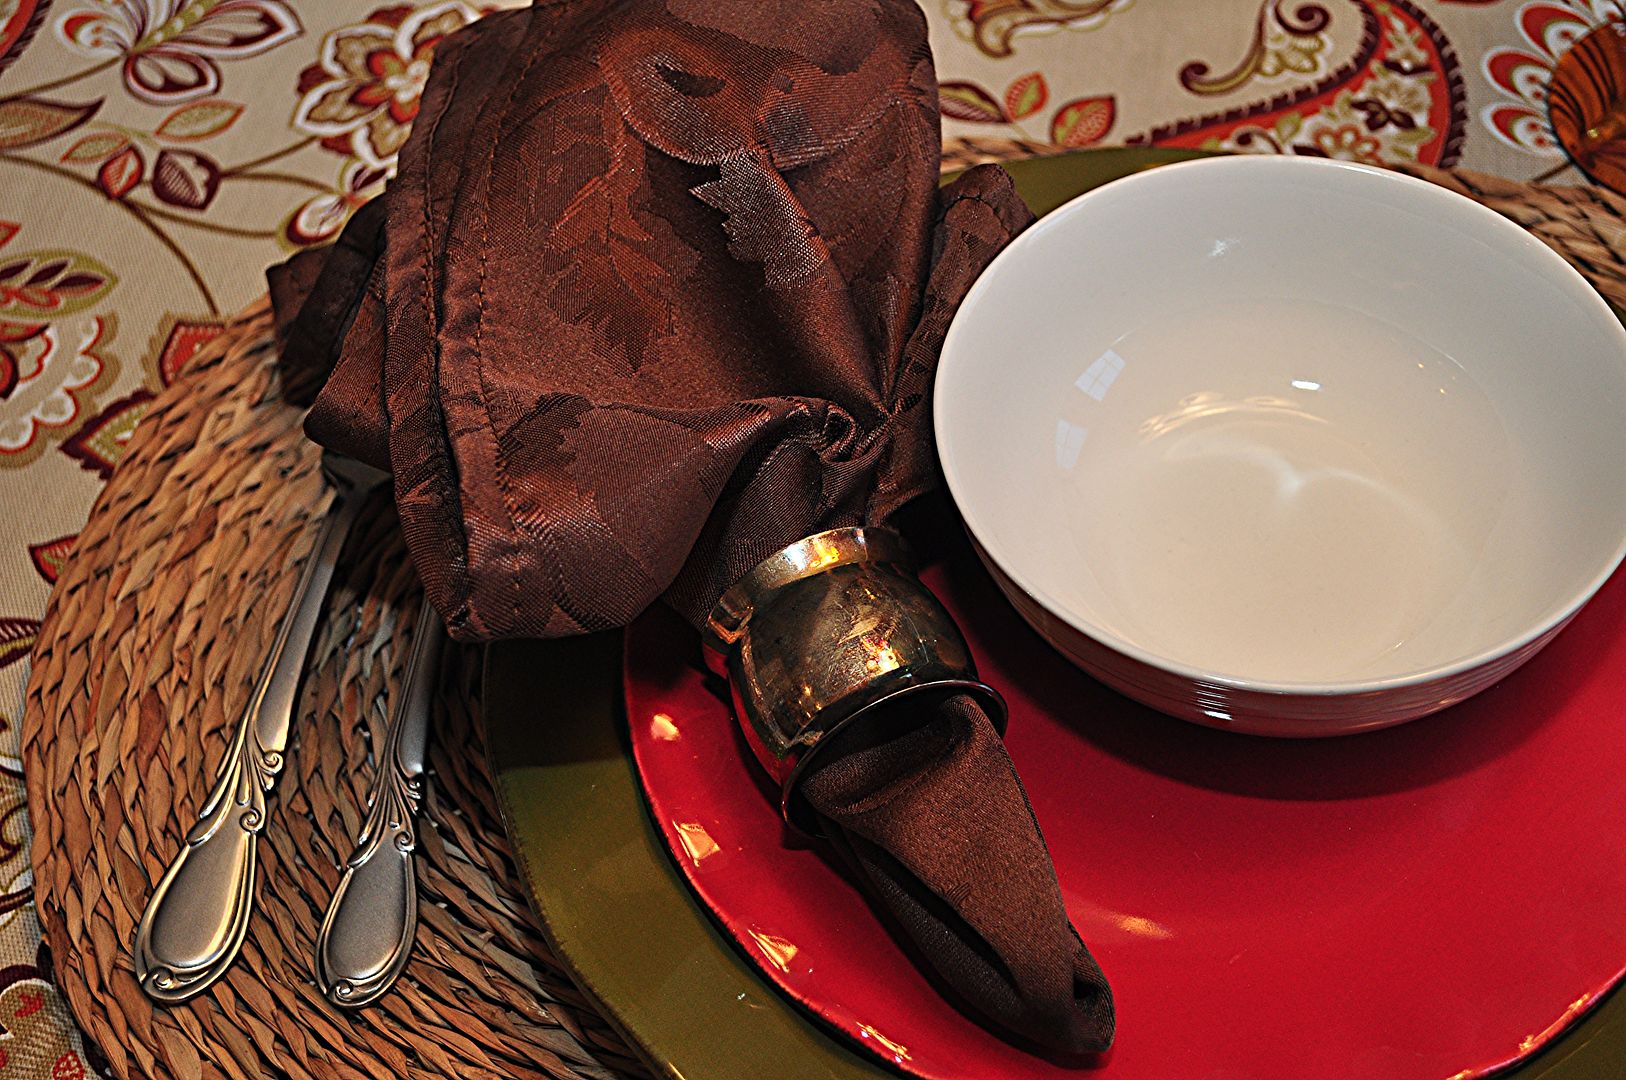
I thought the Cost Plus World Market via Goodwill woven oval place mat was a good anchor for my place settings. 
Decorating for Fall
I used my green ruffled dinner plates with a ruffled red salad plate, both bought years ago on clearance from JC Penney. A white Gibson Everyday bowl tops it off.
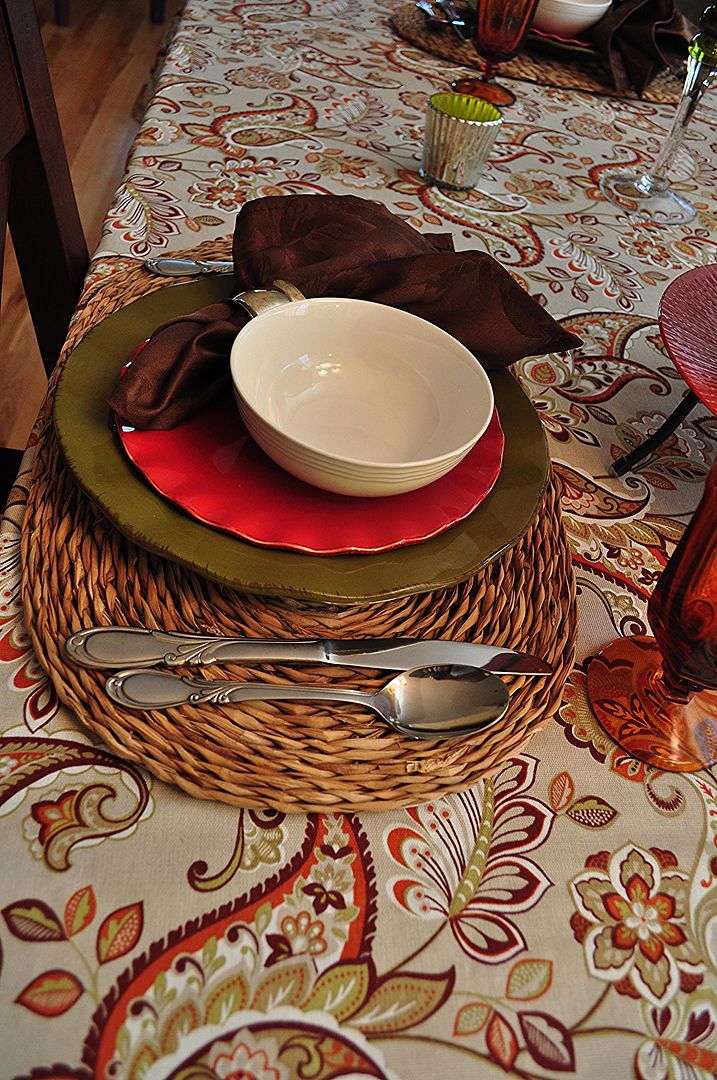
Fall Decor
The napkin rings were another Goodwill find.  5 for $1.00.  I left them with their tarnished finish as I thought it added a rustic touch to the table. 
The napkins are from Bed Bath & Beyond.
Fall Decor
The design in the flatware reminds me of the wind 
blowing the fallen leaves around.
Fall Decor
I just love the dark amber glasses I found at Goodwill last year.  .49 each!  Be still my heart at that kind of a bargain!
Fall Decor
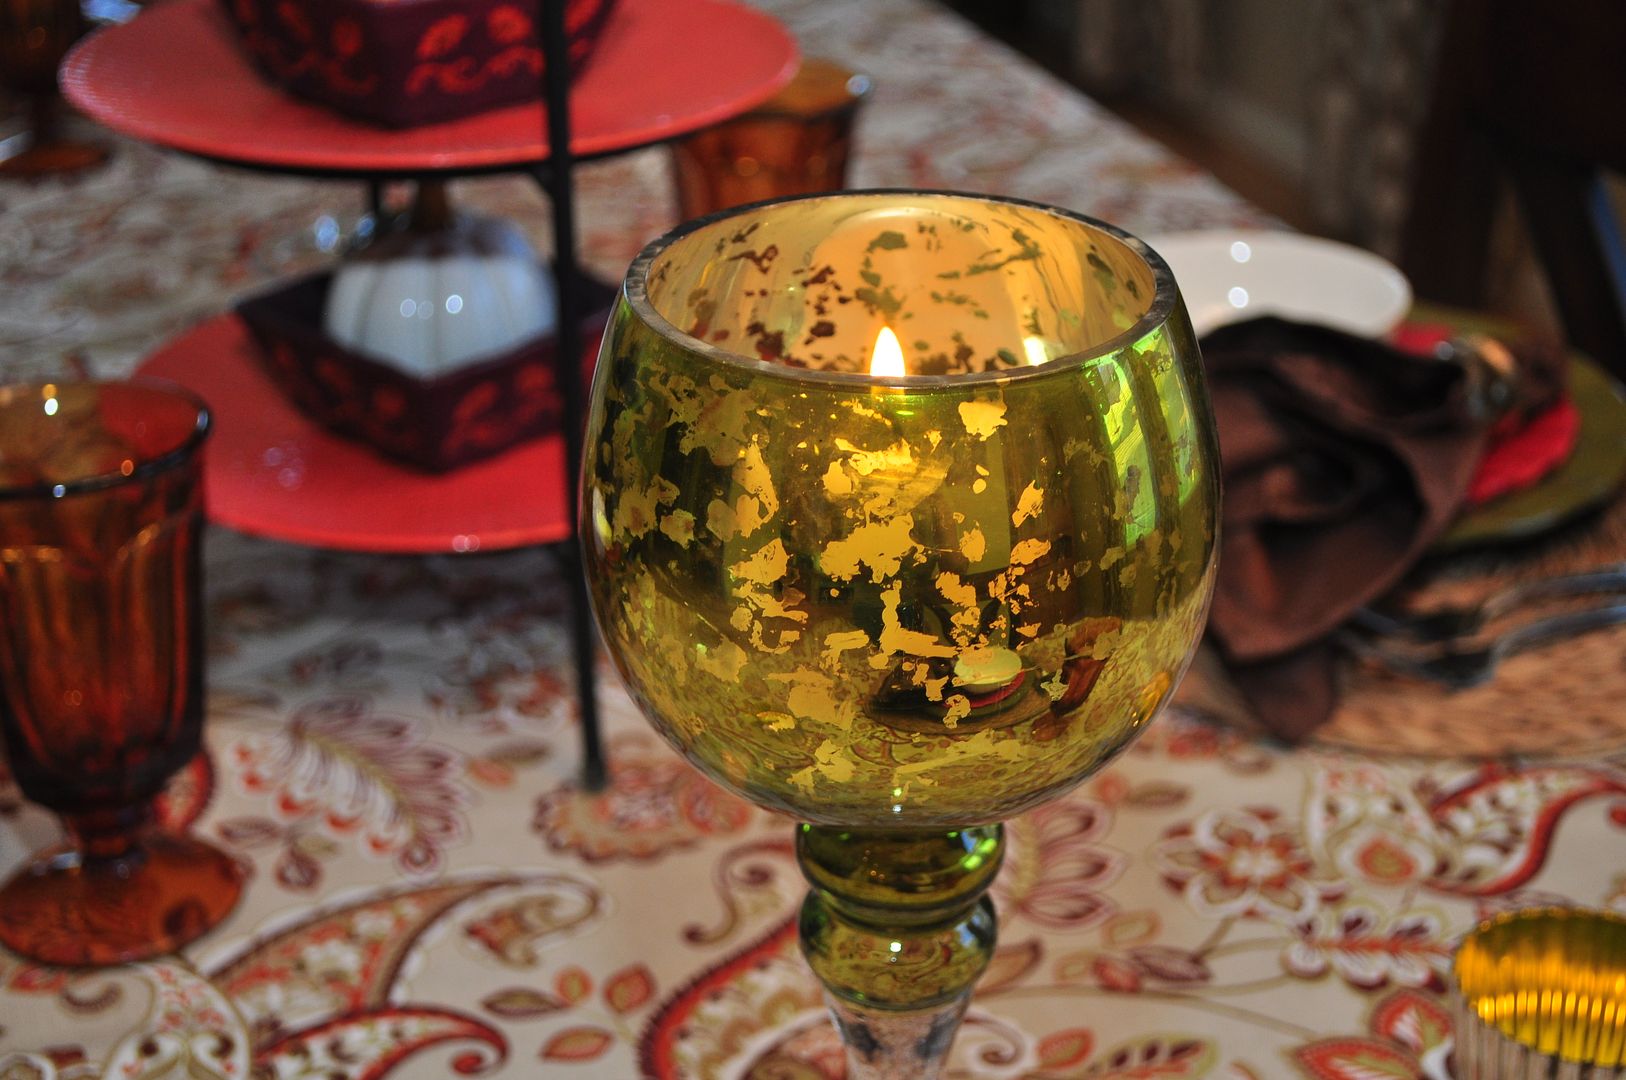
A green mercury glass candle stem from Burlington Coat Factory sit 
on each side of the plate stand centerpiece.
Fall Decor
Purple ruffled bowls from Michael's sit atop orange 
melamine plates from Target.
Fall Colors
Each bowl holds a seasonal pumpkin. And yes, the orange one is a salt shaker but it fit so perfectly don't you agree?
Fall Centerpiece

Fall Tablescape

Fall Decor
A Fall table to offer comfort and warmth as the days get even shorter and the weather turns blustery.
Fall Decor


I always share my tables with
and

Click here to see where else I may be partying this week. 
AND
Don't forget to come by on Tuesday's